Extending robotic NDT to aerospace certification
Automating current manual testing promises increased speed, reduced cost, earlier damage detection and more detailed analysis of damage growth.
Nondestructive testing (NDT) has been used in the manufacture and evaluation of advanced composite structures for decades. In that time, NDT has evolved significantly. Early ultrasound testing (UT), for example, used a single piezoelectric element, and the NDT process was excruciatingly slow. Today, phased-array UT systems electronically combine and simultaneously digitally process information from hundreds of these elements, enabling the user to more productively sweep large surfaces and scan more complex geometries. Improvements in digital signal processing and the incorporation of industrial robots have enabled greater flexibility and automated the testing process. Most recently, the use of laser UT — or laser ultrasonics (LUS) — has freed the process from coupling agents (water or gels), and from the need for precise probe alignment — the energy beam no longer has to be perpendicular to the inspected surface (see “Nondestructive Inspection: Better, faster and cheaper,” under Editor's Picks," top right). Despite this push toward industrial-scale, inline inspection of production parts, little has been done, until now, to apply automated NDT to the thousands of structural tests required for composite aerostructures certification.
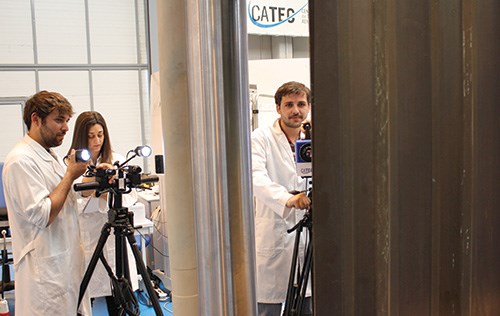
Based on a long history in NDT development, Tecnatom (Madrid, Spain) and the Center for Advanced Technologies (CATEC, Seville, Spain) are addressing that lack as participants in the Clean Sky Joint Undertaking, the largest aerospace research program ever pursued in Europe. Tecnatom and CATEC were recently awarded funding to pursue “Development of novel inspection approaches and automated systems for monitoring CFRP damages on-line.” Goals include earlier detection of damage, monitoring damage evolution and collection of a more complete data set via a larger number of inspections, but at reduced cost and with real-time transmission of data “online” — that is, via a computer-controlled acquisition system. The project is part of a technology demonstration managed by Airbus Military (Getafe, Spain) and is to be completed by 2016.
The challenge
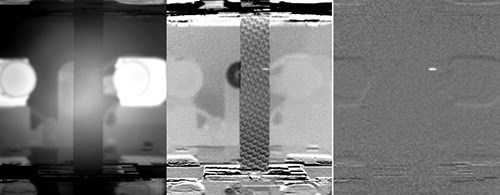
During certification, myriad static and fatigue structural tests are required by the U.S. Federal Aviation Admin. (FAA, Washington, D.C.) and the European Aviation Safety Agency (Cologne, Germany) to establish an aircraft’s wing and fuselage behavior under both normal and exceptional loading. All major components are subjected to the maximum load the aircraft could ever see in service, known as the design limit load (DLL or limit load). During this loading, UT, X-ray and/or other NDT methods are used to document disbonds, delaminations, fiber rupture, microcracking and other damage, as well as how this damage evolves as loading continues and as various aircraft service life objectives are simulated. The goal is to understand how composite primary structures will perform during actual aircraft operation and then to prevent uncontrolled damage growth during its real lifecycle.
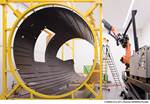
The flight certification test pyramid is well documented in the composites industry. What is less known, is that all of these tests — moving from coupons up to subcomponents, components and finally a full-scale airframe — require NDT testing and that those tests are currently performed by hand.
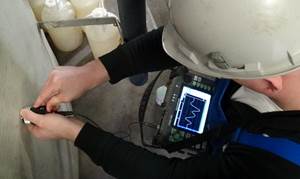
According to Antonio Tanarro, Tecnatom’s manager of aerospace business development, manual UT inspection for this type of damage monitoring at Airbus “causes more difficulty in recording the acquired data and evaluating its evolution.” Also, manual inspections are very slow, and because the inspections are required continuously during the testing, he says, “NDT operators must be present 24 hours per day.”
The solution
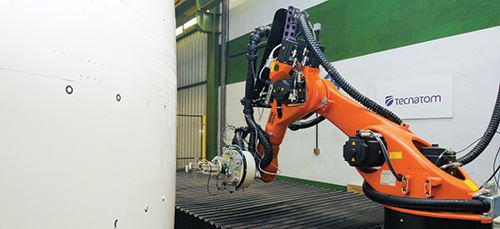
In Phase I of the Clean Sky NDT research project, Tecnatom will analyze suitable NDT technologies and define the hardware/software requirements for automated UT scanning during structural tests. In Phase II, it will build and test a prototype, which will be automated and fully integrated into the testing process, providing online evaluation of acquired data. Tanarro notes, “This system will improve the quality of the data recording and repeatability of the inspections. It will also reduce inspection time and cost, resulting in valuable additional information available for refining the composite structure manufacturing process.”
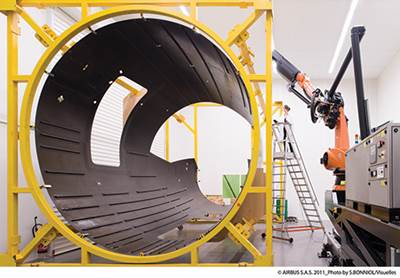
The Clean Sky project description notes that, practically speaking, this system should first be proven at a subcomponent structural test level during continuous testing without disassembly. It also proposes extending the system demonstration in a second term to inspect a large structure, such as a fuselage cockpit.
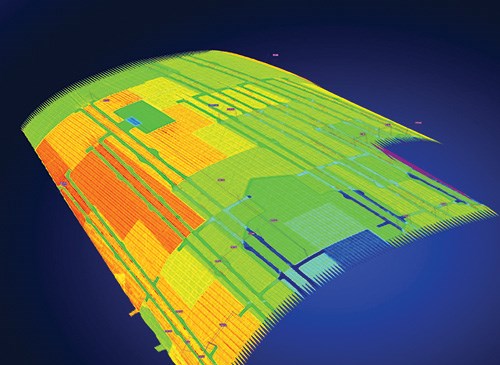
Tanarro acknowledges that these are not trivial. “The integration of the complete inspection process includes generating and simulating the 3-D scan path, and optimizing the data acquisition and evaluation, while ensuring complementarity of the NDT techniques within the automated, robot-based solution,” he explains. But Tecnatom is confident that the results will enable significant efficiency gains for the aerospace composites industry.
Related Content
Xnovo Technology, Exciscope introduce X-ray tensor tomography technique
Through a strategic partnership, the companies introduce the FiberScanner3D module, dedicated to bringing more rapid, reliable and robust fiber structure characterization methods to lab settings.
Read MoreLoop Technology develops robotic arm for wing box inspection
Part of an R&D project with Spirit AeroSystems, the seven-axis Bravura robotic arm automates inspection and sealing within small spaces like aircraft wing boxes.
Read MoreVIDEO: AI, cameras and lasers for FOD detection
Virtek Vision demonstrates its Iris AI technology at CAMX 2024. It combines laser projection with machine learning software to detect foreign object debris during a composite layup.
Read MoreUTComp authors bulletin on fitness-for-service assessment of FRP
Welding Research Council (WRC) Bulletin 601 provides technical background and validation for quantitative nondestructive testing methodology for FRP composite equipment.
Read MoreRead Next
Nondestructive inspection: Better, faster and cheaper
Faced with new time and cost pressures, NDI system suppliers are integrating inspection with manufacturing to reduce its share in part cost and cycle time.
Read MoreAll-recycled, needle-punched nonwoven CFRP slashes carbon footprint of Formula 2 seat
Dallara and Tenowo collaborate to produce a race-ready Formula 2 seat using recycled carbon fiber, reducing CO2 emissions by 97.5% compared to virgin materials.
Read MoreVIDEO: High-volume processing for fiberglass components
Cannon Ergos, a company specializing in high-ton presses and equipment for composites fabrication and plastics processing, displayed automotive and industrial components at CAMX 2024.
Read More



.jpg;maxWidth=300;quality=90)


