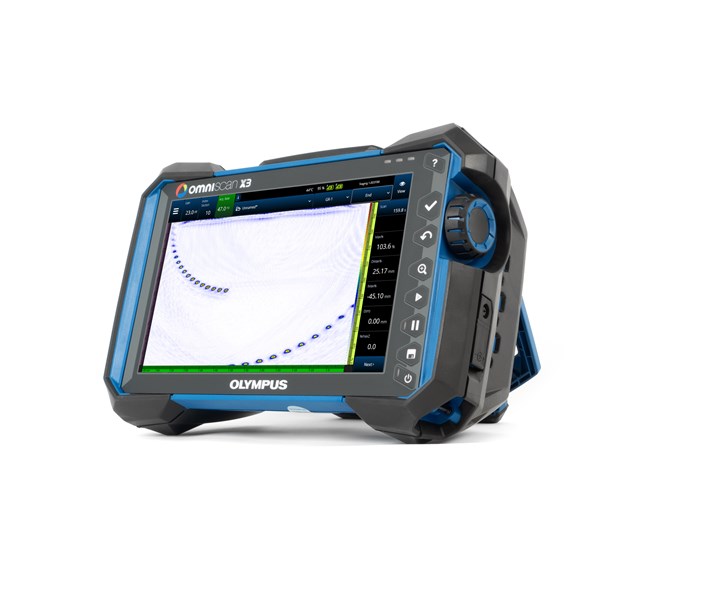
Flaw detector includes new features to improve inspection workflow
Designed for pressure vessels and pipes, Olympus’s OmniScan X3 flaw detector is said to combine the tools needed for efficient phased array ultrasonic testing (PAUT) inspections.

Source | Olympus
Olympus’s (Waltham, Mass., U.S.) OmniScan X3 flaw detector includes new features said to improve the inspection workflow. OmniScan X3 collects total focusing method (TFM) images through full matrix capture (FMC) for faster, more efficient job setup and increased decision-making confidence. When an inspection is complete, the detector’s software tools simplify analysis and reporting.
The OmniScan X3 is designed for use with composites, pressure vessels, welds or pipes.
The OmniScan X3 combines the tools needed for phased array ultrasonic testing (PAUT) inspections, such as time-of-flight diffraction ultrasonics (TOFD), two ultrasonic (UT) channels, eight groups and 16:64PR, 16:128PR and 32:128PR configurations*, with innovations that include:
- TFM/FMC with 64-element aperture support,
- improved phased array imaging, including a live TFM envelope feature,
- acoustic influence map (AIM) simulator for TFM mode,
- 25 GB file size,
- up to 1,024 × 1,024-pixel TFM reconstruction and four simultaneous, live TFM propagation modes,
- simplified user interface with onboard scan plan, and
- wireless connectivity to the Olympus Scientific Cloud (OSC) to keep the instrument’s software up to date.
The comprehensive onboard scan plan tool is said to enable users to visualize the inspection, helping reduce the risk of errors. The entire scan plan, including the TFM zone, can be created in one simple workflow. Creating a setup is also faster with improved calibration tools and support for simultaneous probe and beam set configuration, onboard dual linear, matrix and dual matrix array creation and automatic wedge verification.
Certified IP65 dustproof and water-resistant, the instrument has the reliability and ease of use that OmniScan flaw detectors are known for combined with high-quality images that help make interpreting flaws more obvious. With the total focusing method, users can produce geometrically correct images to confirm the characterization of flaws identified through conventional phased array techniques and obtain better images throughout the volume of a part. Additional features that enable outstanding images include a 16-bit A-scan, interpolation and smoothing and a vivid 10.6" WXGA display that provides clarity and visibility in any light.
The OmniScan X3 flaw detector makes analysis and reporting faster, both onboard the instrument and on a PC. The instrument also comes with a variety of data interpretation tools such as circumferential outside diameter (COD) TFM image reconstruction to facilitate interpretation and sizing of long seam weld indication, and a merged B-scan to facilitate the screening of phased array weld indications while simplifying workflow.
*The 16:64PR configuration limits the number of groups to 1 TOFD, 2 PA and 2 TFM.
Related Content
-
Bladder-assisted compression molding derivative produces complex, autoclave-quality automotive parts
HP Composites’ AirPower technology enables high-rate CFRP roof production with 50% energy savings for the Maserati MC20.
-
Automated robotic NDT enhances capabilities for composites
Kineco Kaman Composites India uses a bespoke Fill Accubot ultrasonic testing system to boost inspection efficiency and productivity.
-
Optimizing a thermoplastic composite helicopter door hinge
9T Labs used Additive Fusion Technology to iterate CFRTP designs, fully exploit continuous fiber printing and outperform stainless steel and black metal designs in failure load and weight.

.jpg;width=70;height=70;mode=crop)


